 Free Shipping
 Fast delivery in 48/72 h
 Safe Payments


1)WRITE US
Contact us with a report to our Customer Service.
![]()
2)FREE RETURNS
Pack the product using the original shipping packaging.
![]()
3)RECEIVE THE GOODS
We will send you the replaced item as soon as possible.

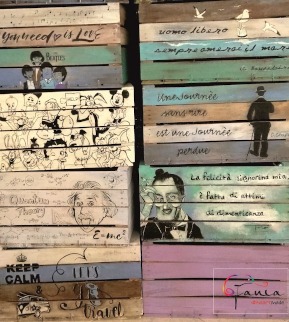
Transferring a photo to wood is much easier than you think. If you love DIY and creative recycling you should already know that there are so many ways to reuse wooden boxes and turn them into pieces of furniture, but today we want to talk about a truly original découpage technique to decorate a surface in wood and create a small work of art made at home!
Printing on wood, whether it is a photo you particularly like or a drawing, allows you to create rustic, economical and at the same time impressive decorations. Not only: these creations will also be excellent gift ideas for many different occasions! An anniversary, a birthday, Valentine's Day...a truly original thought for someone special!
We decided to ask an industry expert to give us a tutorial on how to transfer photos to wood. This guide in five easy steps was written by our friend Stefania "Fania_Heartmade": follow her on Instagram and be inspired by her creations! Ah, we remind you that in our online store you will also find a line of wooden boxes that are ideal for decorating your home or for engaging in creative recycling.
Here's a simple five-step tutorial for you to learn how to transfer images to wood!
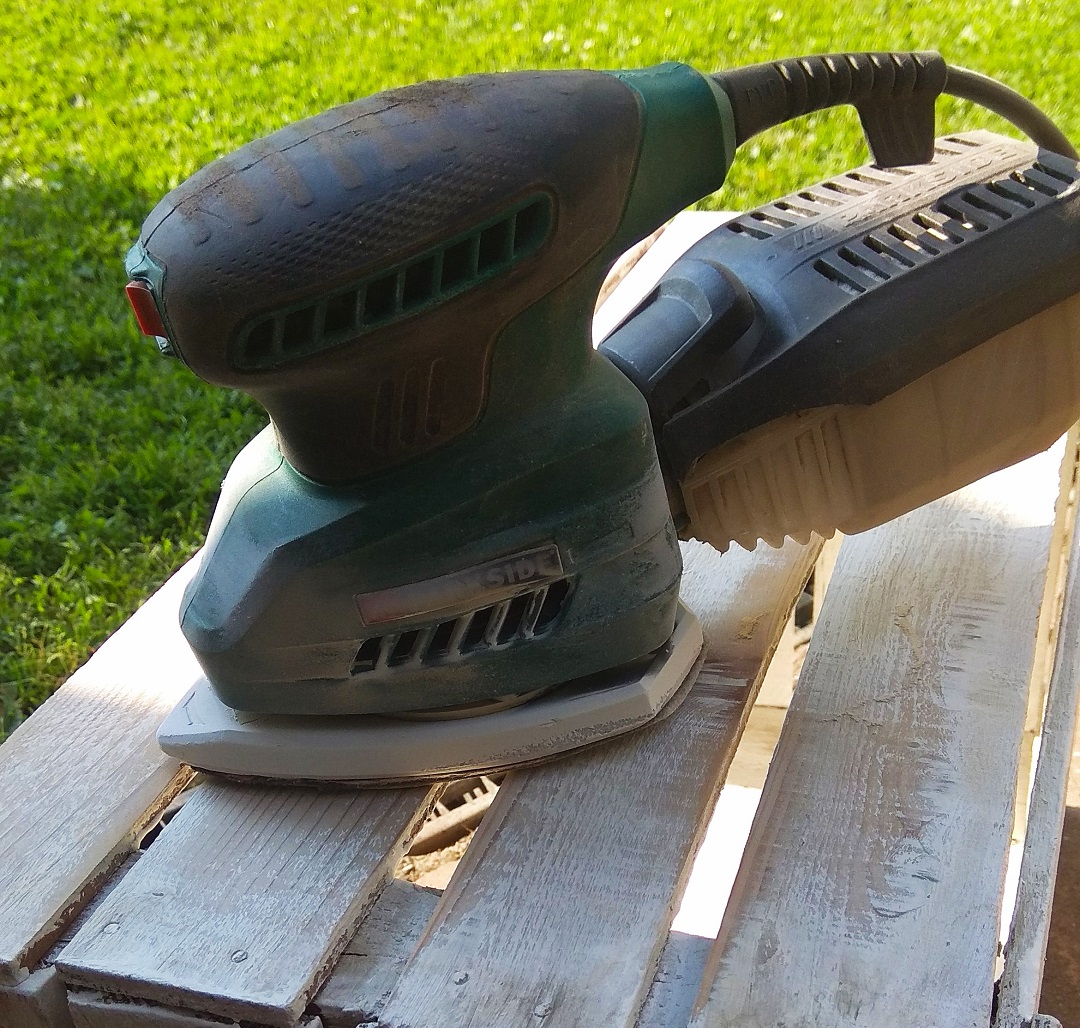
First you need to smooth the wood surface you've chosen to transfer an image or photo. Use a little sandpaper to remove strips or any wood imperfections. With a sander you will do even faster!
Print your photo or image in the desired size, in mirror, on plain paper (not photographic). Mirror printing is essential, especially if the image you have chosen contains writing, because it will be used upside down. Warning! It is important to use a laser printer or a professional printer because inkjet printers are not suitable for this type of work.
A tip: if you want the colors to remain as faithful as possible to the original photo, paint the surface of the white wood.
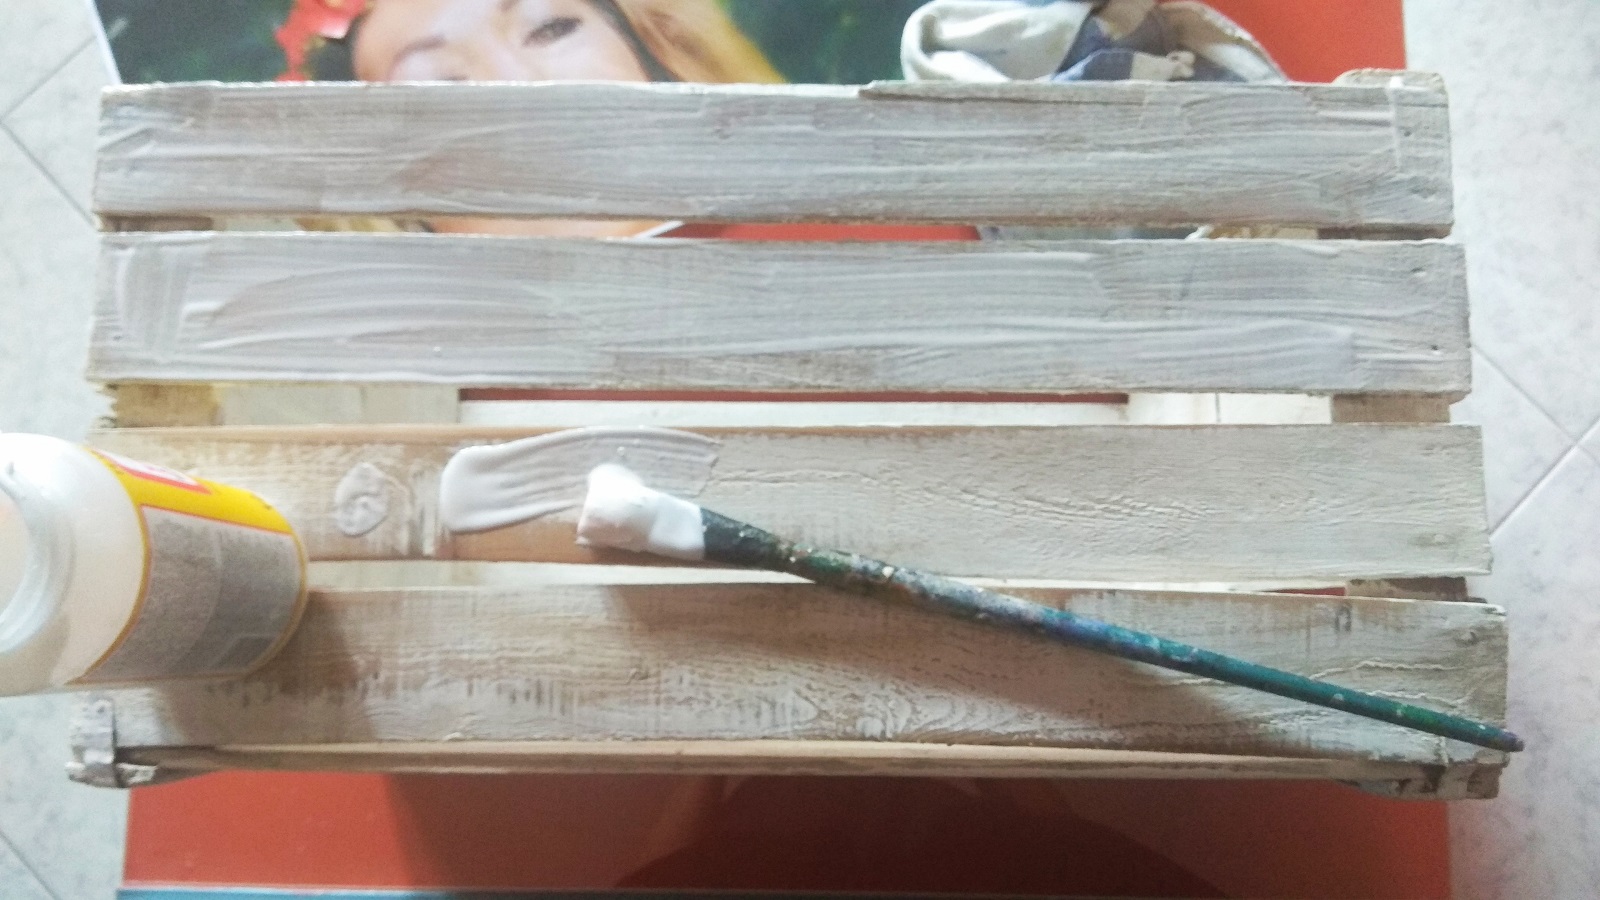
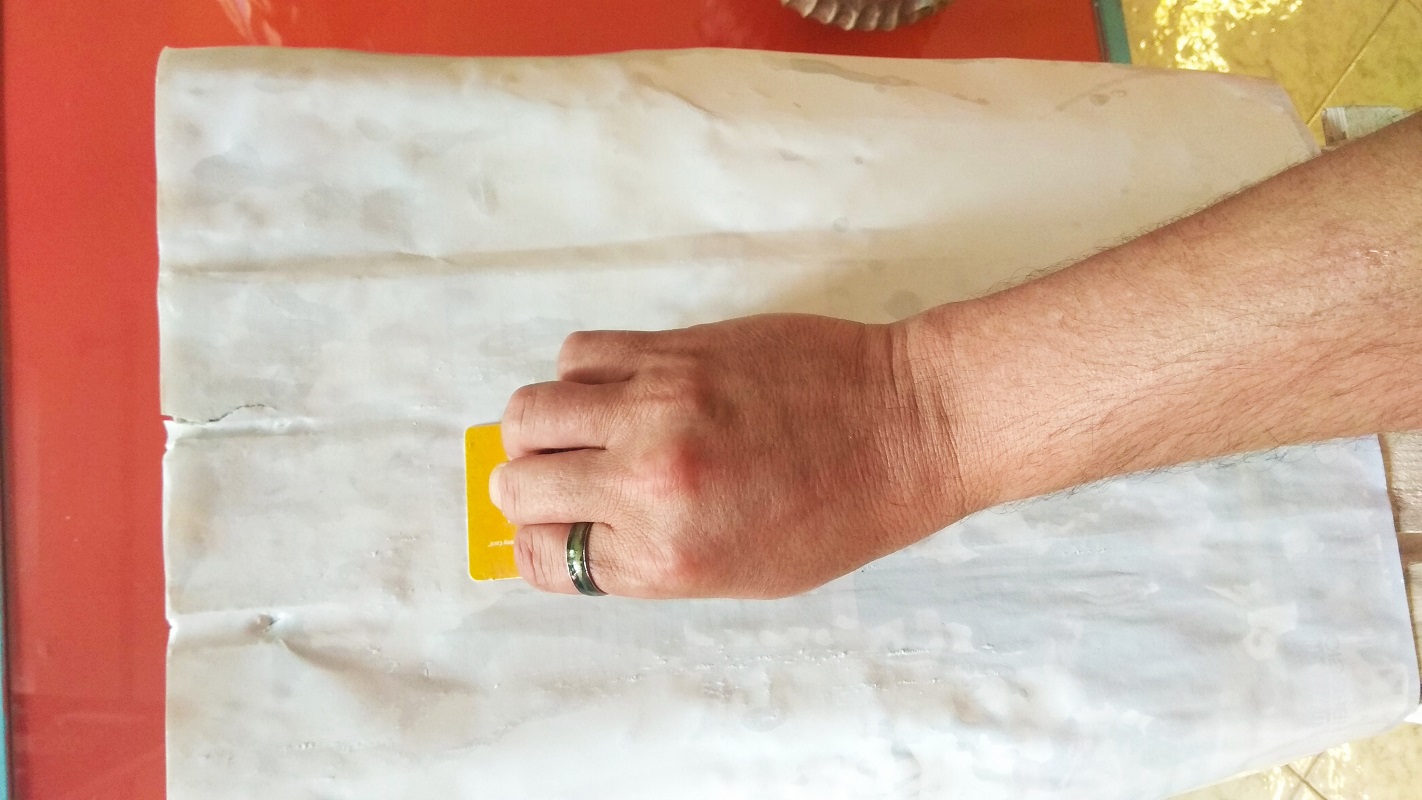
Start preparing the wood surface! Spread an abundant layer of bricolage glue on the front of the cassette (even a simple vinyl glue will do) and place the sheet with the photo or image to be transferred to the desired position. Make the sheet adhere perfectly to the wood with the help of a spatula or a plastic card and let the surface dry completely.
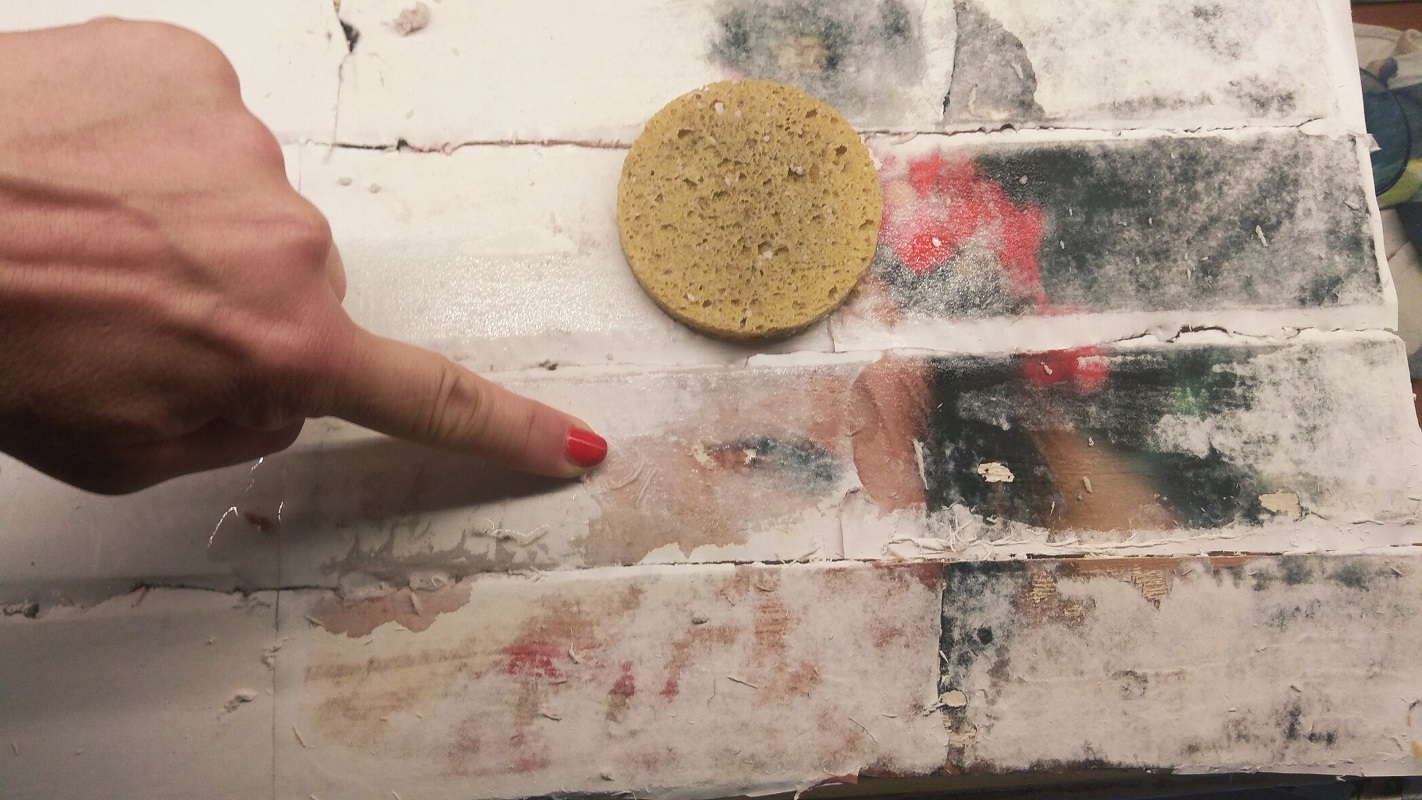
Take a bowl of water and with the help of a sponge start to wet the paper completely. Remove the various layers of paper that will begin to peel off the wooden box (I recommend: maximum delicacy!) And leave only the image. In this phase it is essential to carry out the operation with patience and without detaching the paper strongly. If necessary, repeat the wetting operation after drying the surface and do not rub the paper too wet: you risk ruining the photo!
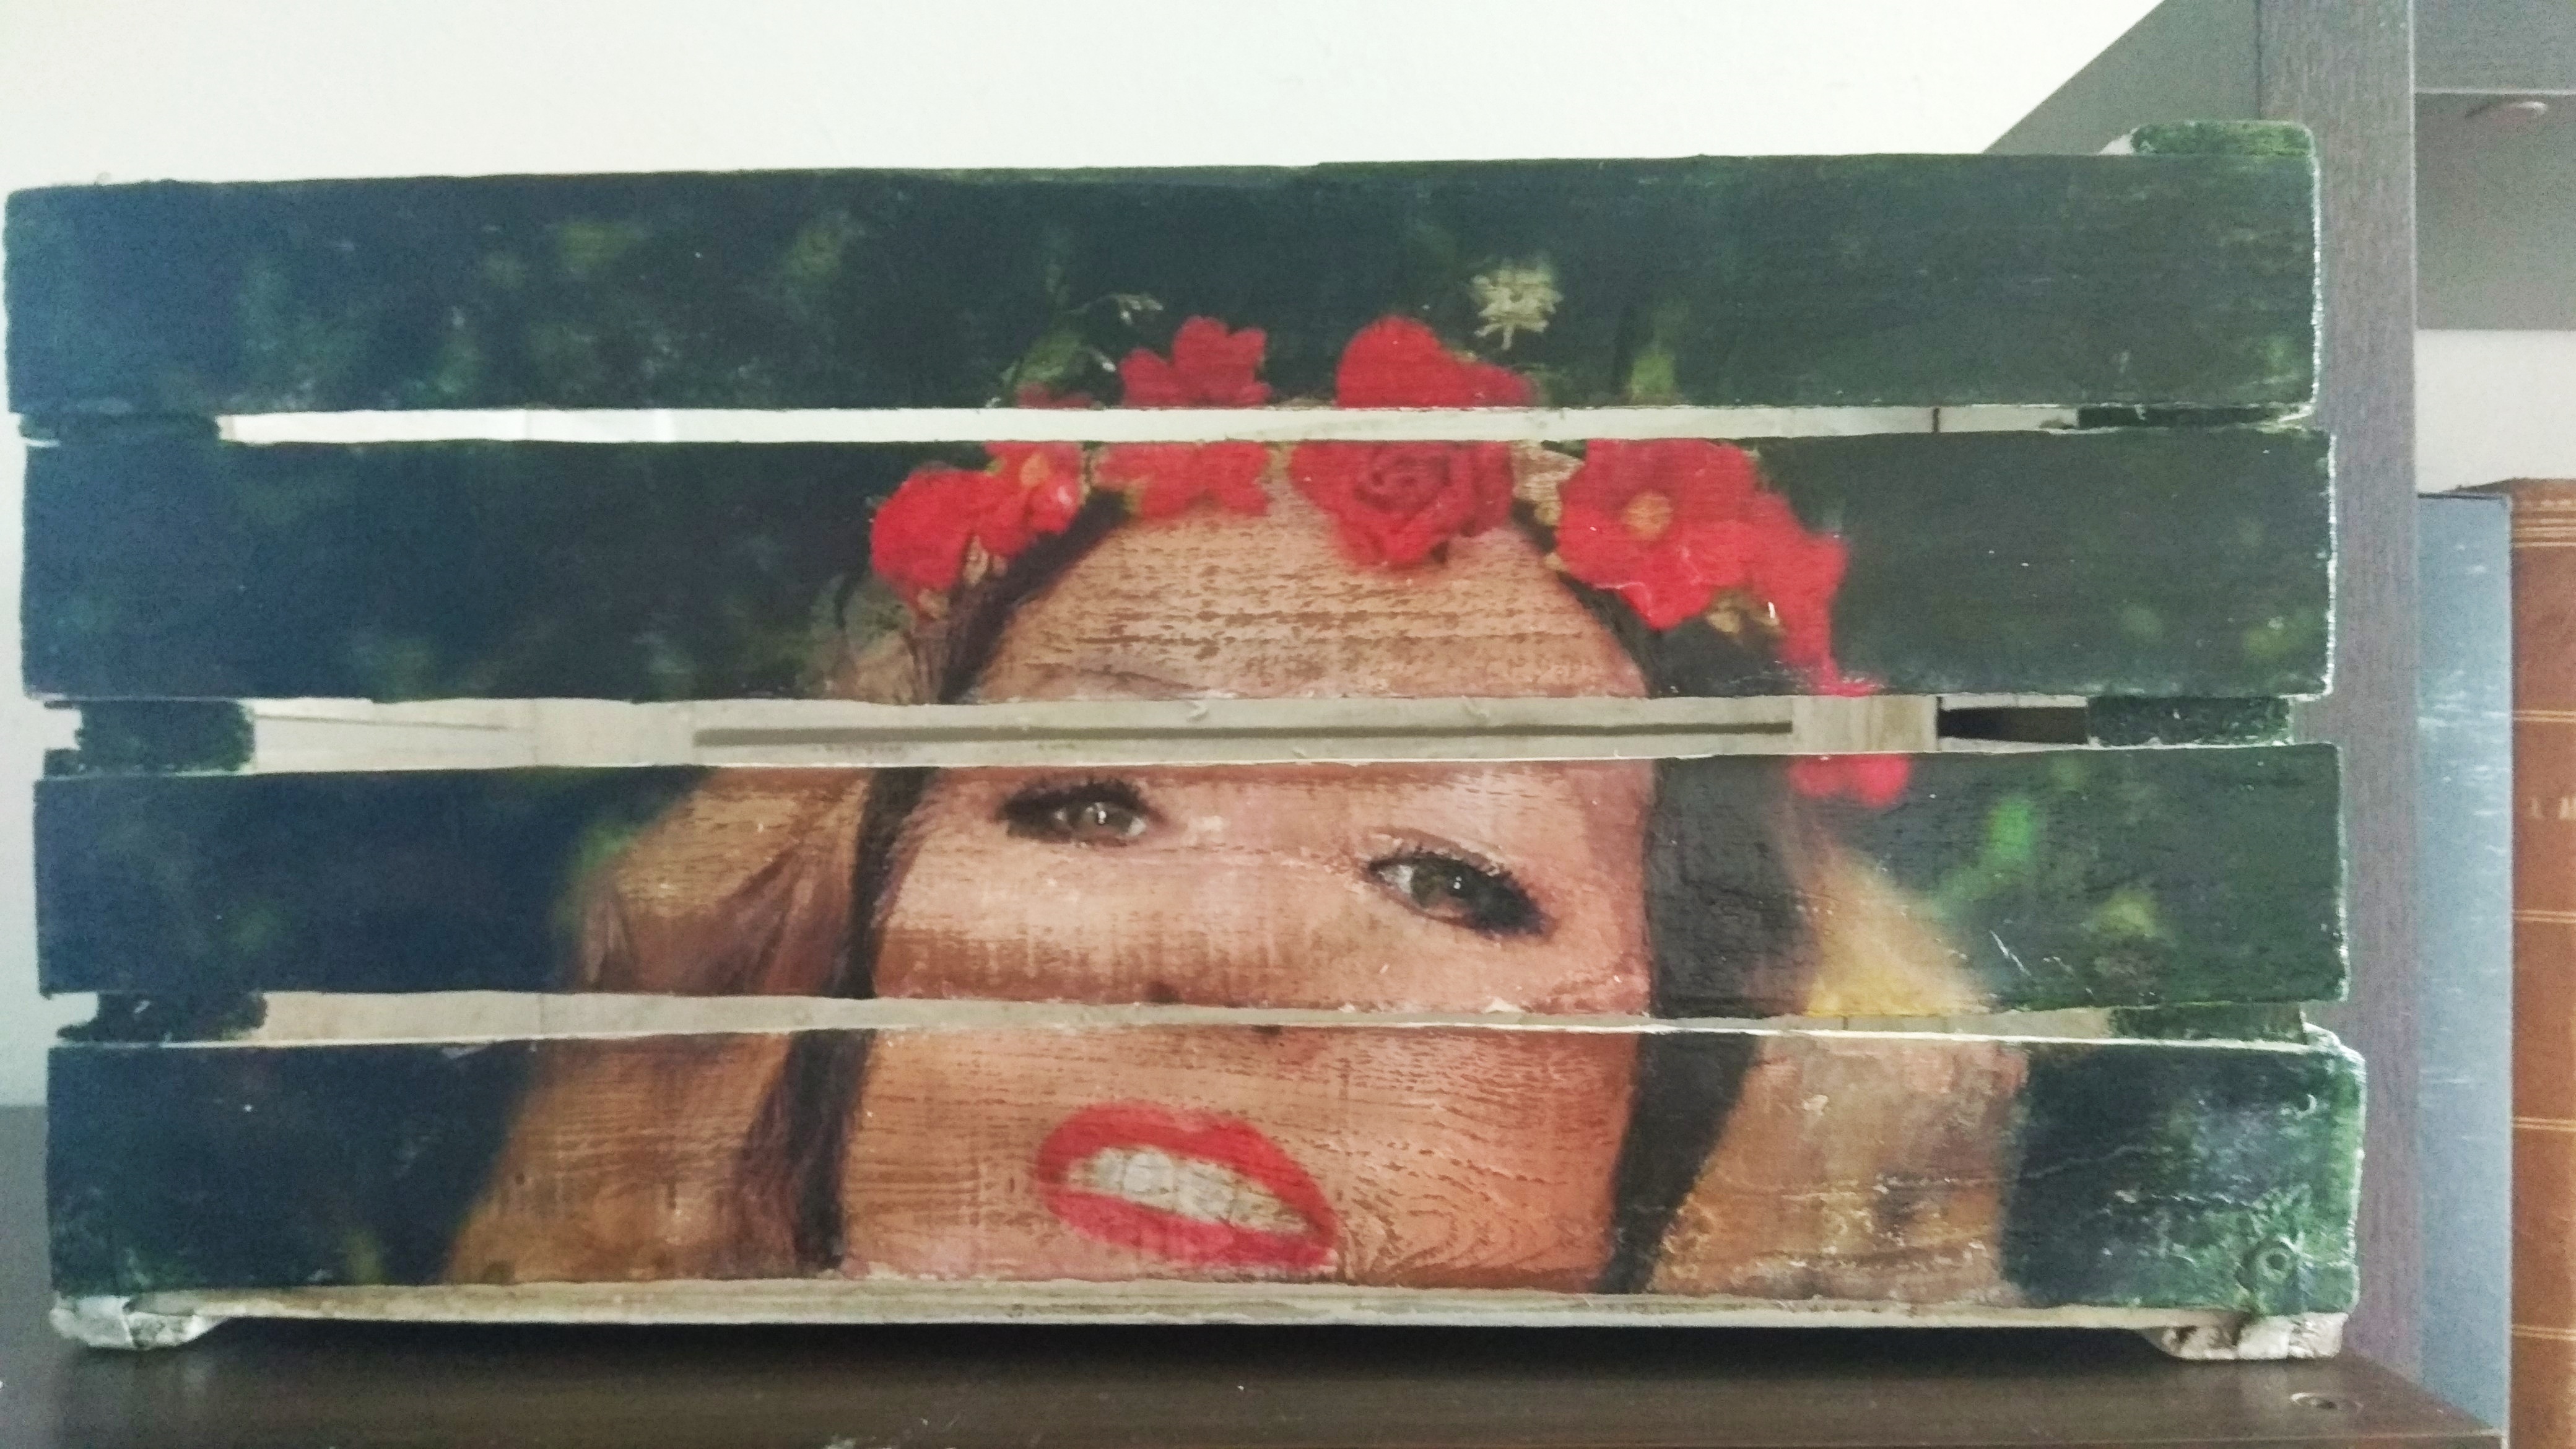
Once this step is complete, complete the whole by applying a layer of vinyl glue on the surface of the cassette for a polishing and protective effect.
1)WRITE US
Contact us with a report to our Customer Service.
![]()
2)FREE RETURNS
Pack the product using the original shipping packaging.
![]()
3)RECEIVE THE GOODS
We will send you the replaced item as soon as possible.
1)WRITE US
![]()
Contact us with a report to our Customer Service.
2)FREE RETURNS
![]()
Pack the product using the original shipment packaging.
3)RECEIVE THE GOODS
We will send you the replaced item as soon as possible.


Comments (0)